


Frequently Asked Questions
What is a local cloud for a smart home?
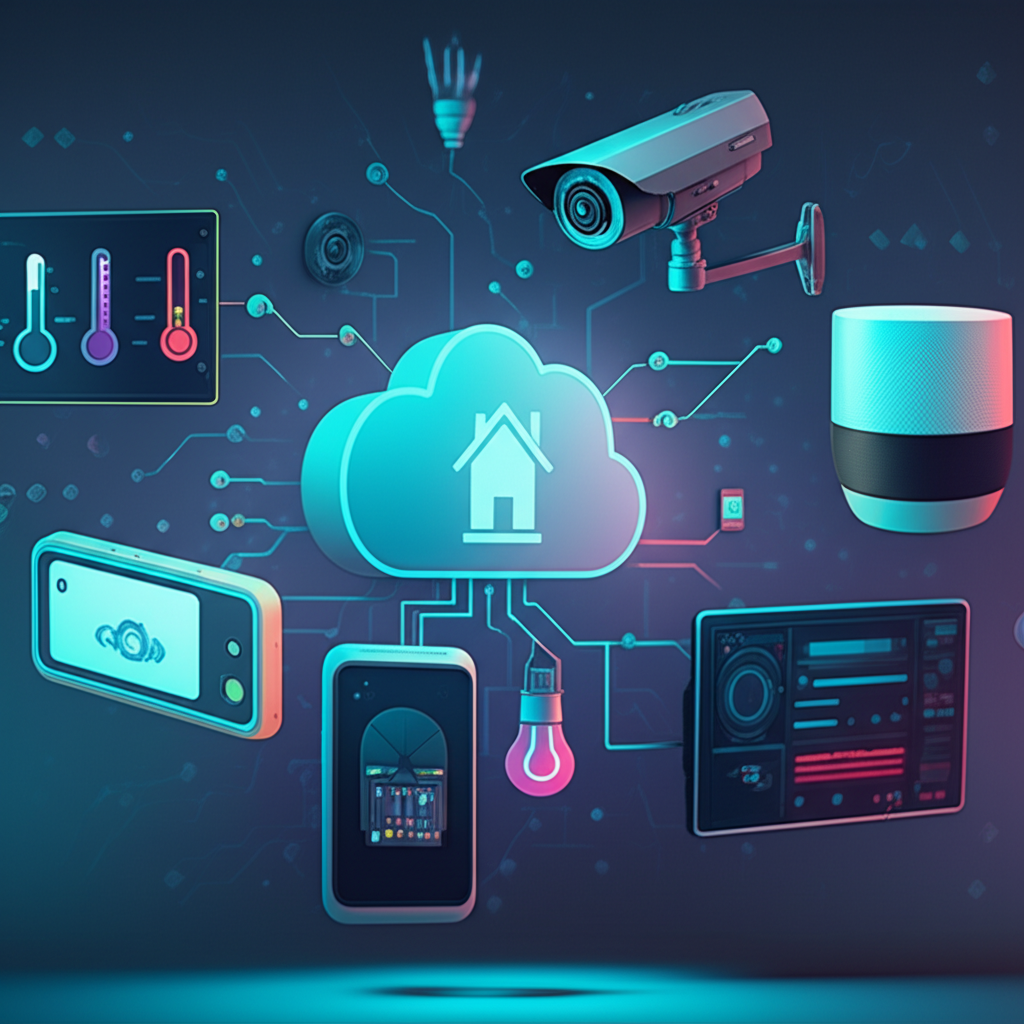
A local cloud for a smart home means your smart devices and automation hub operate primarily within your home network, rather than relying on external servers. This architecture enhances privacy by keeping your data on-site, improves reliability by reducing internet dependency, and offers greater control over your smart home system.
Why choose Home Assistant for a local cloud?
Home Assistant is an open-source platform that excels at creating a local smart home cloud. It offers extensive device compatibility, allowing you to integrate devices from various manufacturers. Its local-first approach ensures your data stays private, and its powerful automation engine allows for deep customization without vendor lock-in or recurring fees.
What hardware do I need to run Home Assistant?
You can run Home Assistant on various hardware. Popular choices include a Raspberry Pi (a Pi 4 with an SSD is recommended for performance and stability), a mini-PC like an Intel NUC, an old laptop, or even a virtual machine on a server. The best choice depends on your budget and performance needs.
How do I access my Home Assistant instance remotely?
Remote access to Home Assistant can be achieved through secure methods. The easiest is Nabu Casa Cloud, a paid subscription that supports the project. Alternatively, advanced users can set up a dynamic DNS service like DuckDNS with a reverse proxy and SSL certificate for free, secure remote access, though this requires more complex configuration.
In an increasingly interconnected world, smart home technology promises unparalleled convenience. However, this convenience often comes at the cost of privacy, data ownership, and reliance on third-party cloud services. The concept of Smart Home as a Service typically implies a subscription-based, cloud-dependent model, where your data resides on external servers. This article challenges that paradigm, introducing the powerful alternative of building your own local cloud. By harnessing the capabilities of open-source platforms like Home Assistant, you can establish a robust, private, and fully customizable smart home ecosystem that operates entirely within your own network. Discover how to regain control, enhance security, and future-proof your connected living space.
The Promise of Local Control: Why a Local Cloud Matters
The allure of a smart home is undeniable: lights that respond to your presence, thermostats that learn your preferences, and security systems you can monitor from anywhere. Yet, the traditional approach to smart home integration often binds users to proprietary ecosystems and central cloud servers. This reliance introduces several significant vulnerabilities and limitations. Firstly, privacy becomes a major concern; your daily habits, energy consumption, and even personal conversations (via voice assistants) can be sent to and stored by commercial entities. Secondly, system reliability hinges on a constant internet connection and the operational status of vendor-specific cloud services, meaning an outage can render your smart home effectively ‘dumb’. Lastly, vendor lock-in restricts your choice of devices and often involves recurring subscription fees for advanced features, turning your smart home into a continuous financial drain.
Building a local cloud for your smart home with Home Assistant offers a compelling antidote to these issues. It means your smart devices communicate and operate primarily within your home network, minimizing or eliminating the need for external cloud services. This architecture fundamentally enhances your privacy by keeping sensitive data on your premises. It bolsters reliability, as your automations will continue to function even if your internet connection drops. Furthermore, a local setup grants you unparalleled control and customization, breaking free from the constraints of vendor ecosystems and empowering you to integrate devices from various manufacturers seamlessly.
Understanding Home Assistant: Your Open-Source Hub
At the heart of the local smart home revolution is Home Assistant, a free and open-source home automation platform designed to be the central brain for your entire smart home. Unlike many commercial solutions that are tied to specific brands, Home Assistant boasts an extraordinary ability to integrate with thousands of devices and services from virtually any manufacturer. This unparalleled compatibility allows you to unify disparate smart devices—from Zigbee light bulbs and Z-Wave sensors to Wi-Fi enabled appliances and IP cameras—under a single, cohesive interface.
Home Assistant operates on a local server (which you host yourself), giving you complete ownership and control over your data and automations. Its core strength lies in its modular architecture, utilizing ‘integrations’ to communicate with different devices and ‘add-ons’ to extend its functionality, such as database management, backup solutions, or even running a local voice assistant. This flexibility means you’re not just connecting devices; you’re building a highly personalized and robust automation engine capable of complex routines. For instance, you can create automations that trigger based on presence detection, time of day, weather conditions, or even the state of other devices, enabling truly intelligent and reactive environments.
Setting Up Your Local Cloud: A Step-by-Step Guide with Home Assistant
Embarking on your local cloud journey with Home Assistant is a rewarding experience that puts you in the driver’s seat. Here’s a practical guide to get you started:
- Step 1: Choosing Your Hardware Host. Home Assistant can run on a variety of hardware. The most popular choice for beginners is a Raspberry Pi (a Raspberry Pi 4 with at least 4GB RAM and a fast SSD for storage is highly recommended over an SD card for stability and longevity). Other powerful options include a dedicated mini-PC like an Intel NUC, an old laptop, or even a virtual machine on a home server. Choose hardware that balances your budget with your performance needs.
- Step 2: Installing Home Assistant OS. For most users, installing Home Assistant OS (HAOS) is the easiest method. HAOS is a complete operating system optimized for running Home Assistant. You’ll need to download the HAOS image for your chosen hardware from the official Home Assistant website. Then, use an imaging tool like Balena Etcher to flash the image onto your SSD or SD card. Once flashed, connect your storage to your hardware, plug in an Ethernet cable for network access, and power it on.
- Step 3: Initial Onboarding and Device Discovery. After booting up, Home Assistant will be accessible via your web browser by navigating to
http://homeassistant.local:8123(or by replacinghomeassistant.localwith your host’s IP address). You’ll be guided through an initial onboarding process to create a user account. Home Assistant will then automatically discover many of your network-connected smart devices. For others, you’ll need to manually add integrations via the ‘Settings’ > ‘Devices & Services’ menu. This is where you connect your Zigbee/Z-Wave hubs, Wi-Fi devices, and other services. - Step 4: Secure Remote Access and Local Prioritization. While the primary goal is local control, remote access is often desirable. Home Assistant offers secure methods:
- Nabu Casa Cloud: This is the easiest and most secure option, offering an encrypted, managed remote access solution. It’s a paid subscription service that also supports the Home Assistant project.
- Manual Setup with DuckDNS/Reverse Proxy: For advanced users, setting up a dynamic DNS service like DuckDNS combined with a reverse proxy (e.g., Nginx Proxy Manager) and securing it with an SSL certificate (e.g., Let’s Encrypt) allows for free, secure remote access. This method requires careful configuration of port forwarding on your router.
Regardless of your choice, always ensure your Home Assistant instance prioritizes local communication for devices, only relying on remote access when absolutely necessary.
Advanced Customization and Automation: Unleashing Your Smart Home’s Potential
With Home Assistant up and running, the real power of your local cloud comes to life through customization and automation. This is where your smart home transitions from a collection of devices into an intelligent, responsive ecosystem tailored to your lifestyle.
- Crafting Intelligent Automations: Home Assistant’s automation engine is incredibly versatile. Beyond simple \”if-this-then-that\” rules, you can build complex sequences involving multiple conditions, triggers, and actions. Consider automations based on:
- Presence Detection: Lights turn on/off, thermostat adjusts when the last person leaves or the first person arrives.
- Time & Schedule: Blinds open at sunrise, coffee machine starts at a specific time on weekdays.
- Sensor Inputs: Motion sensors trigger lights, door/window sensors alert you to breaches, humidity sensors activate exhaust fans.
- Voice Commands: Integrate with local voice assistants (e.g., Home Assistant’s Voice Assistant, Rhasspy) for privacy-focused control without cloud dependency.
Use the visual automation editor or delve into YAML for more granular control, allowing you to fine-tune every aspect of your smart home’s behavior.
- Designing Personalized Dashboards (Lovelace UI): Home Assistant’s user interface, known as Lovelace, is fully customizable. You can create multiple dashboards, each tailored to a specific room, person, or function. Drag-and-drop cards allow you to display device states, control entities, view camera feeds, and even integrate web content. Design dashboards that provide at-a-glance information and intuitive control, making your smart home accessible and enjoyable for everyone in your household.
- Expanding Your Ecosystem: Continuously explore new integrations to bring more of your devices under Home Assistant’s umbrella. Look for community-driven integrations via HACS (Home Assistant Community Store) for unsupported devices or niche functionalities. Remember to prioritize devices that offer local control capabilities out-of-the-box or have well-supported Home Assistant integrations to maintain your local cloud philosophy.
Engage with the vibrant Home Assistant community forums and documentation. These resources are invaluable for troubleshooting, discovering new ideas, and learning advanced techniques to truly master your smart home.
Conclusion
Reclaiming control over your smart home through a self-hosted local cloud with Home Assistant is more than just a technical endeavor; it’s a strategic move towards a more private, reliable, and truly intelligent living space. By moving away from a cloud-centric Smart Home as a Service model, you eliminate recurring fees, mitigate privacy risks, and reduce your dependence on external services and internet connectivity. Home Assistant empowers you with an open-source platform that offers unparalleled compatibility, deep customization, and robust automation capabilities. The journey from setting up your hardware to crafting sophisticated automations transforms your smart home into a resilient, future-proof system designed around your unique needs. Embrace the power of local control and build a smart home that truly serves you, on your terms.


Leave a Reply