After wrestling with the MoesHouse Tuya-powered 4MP indoor PTZ camera, I finally managed to get RTSP streaming working. Here’s everything I learned along the way, including the pitfalls, the correct stream URL, and how to get it working reliably on macOS using VLC.
What This Camera Is
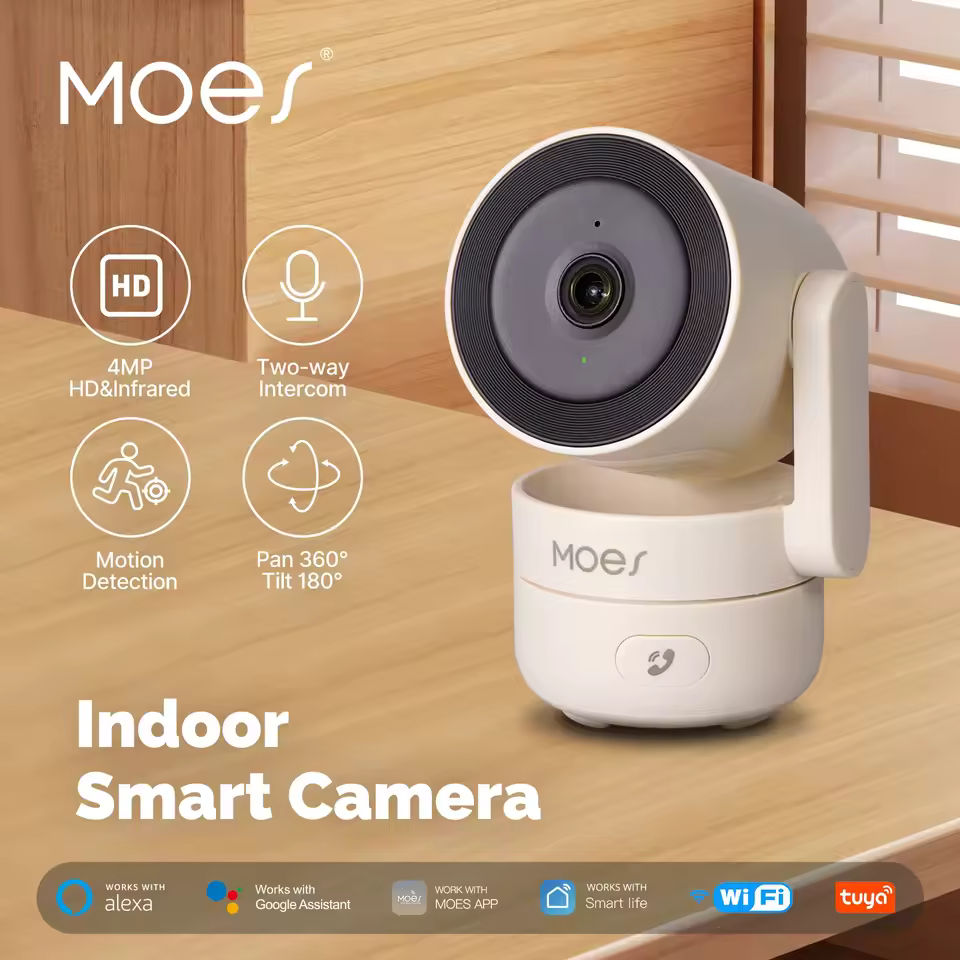
The camera in question:
Tuya WiFi 4MP Indoor Security Camera with Night Vision and Motion Detection
- Brand: MoesHouse
- Model: 4MP WiFi Indoor Camera
- Platform: Tuya Smart / Smart Life app
- Features: PTZ, night vision, two-way audio, ONVIF, RTSP (claimed)
Despite advertising ONVIF and RTSP support, using those features is anything but plug-and-play.
First Steps: Enabling ONVIF/RTSP
In the Tuya or Smart Life app:

- Open your camera settings.
- Look for “ONVIF” or “RTSP” (often called “Onvif Switch”).
- Enable it.
- Tap Reset Password and set a password with at least one capital letter (e.g.,
Admin1234).
Note: The username is always admin — this is hardcoded and cannot be changed.
Checking If the Camera Is Listening
We used nmap to confirm what ports were open:
nmap -p 554,8554 192.168.1.80
Result:
554/tcp  closed rtsp
8554/tcp open   rtsp-alt
This tells us the camera is using port 8554 for RTSP — not the usual 554.
Stream URL: The Missing Piece
Despite many guides suggesting /main, /sub, or /onvif1, none of them worked. The correct stream URL for this model is:
rtsp://admin:[email protected]:8554/stream0
This was confirmed through trial and error and analyzing debug output from VLC.
You can also use the secondary stream (lower quality but faster) in:
rtsp://admin:[email protected]:8554/stream1
VLC: Getting It Working
In VLC:
- Go to File → Open Network.
- Enter the full RTSP URL with username and password:
rtsp://admin:[email protected]:8554/stream0
- Approve
Home Assistant Integration (No YAML Required)
Home Assistant’s UI makes it straightforward to add this camera without touching configuration.yaml.
- Open Home Assistant → Settings → Devices & Services.
- Click ➕ Add Integration (bottom‑right).
- Search for “Generic Camera” and select it.
- Fill in the fields:
- Still Image URL: (leave blank or point to a snapshot URL if the camera supports JPEG)
- Stream Source:
rtsp://admin:[email protected]:8554/stream0 - Leave authentication method as Basic (default).
- Click Submit and then Finish.
Home Assistant will create a new camera entity (e.g. camera.moeshouse_camera). You can now add it to a dashboard card or call camera.play_stream in automations.
Android App Support
Two great Android apps support this stream format:
- ONVIF (by Developer: Biyee SciTech): Detects ONVIF cameras and auto-discovers RTSP streams.
- StreamShow: Lightweight RTSP player, works flawlessly with the
/stream0endpoint.
Common Pitfalls
- Wrong Port: 554 is closed by default. Port 8554 is used.
- Wrong Stream Path:
/stream0is required — not/main,/sub, or/onvif1. - Authentication: Username is always
admin. Use the password you set in the app’s ONVIF section. Password must include at least one capital letter. - Service Delay: After enabling ONVIF, the camera often needs to reboot and initialize before RTSP will respond.
Final Thoughts
Tuya-based cameras are cheap and flexible, but their RTSP/ONVIF support is inconsistent and poorly documented. With a bit of effort — and the right URL — they can work just fine for streaming into VLC, Blue Iris, Home Assistant, or Android apps like StreamShow.
Hopefully, this guide saves someone else the hours of trial and error it took to crack the RTSP stream on this device.
You can buy one of those on aliexpress here:

